The past week or so has involved a little side work at the Museum of Fine Arts in Boston, repairing some shōji, and putting together an estimate for a Japanese ceiling in a tea room just outside of Boston - wish me luck with that - so progress on the cabinets has been slowed somewhat. Every time I put together an estimate for a job I am reacquainted with the fact that good wood is steadily getting harder to find, and more expensive all the time.
I have made progress on the frames of the demountable back panels on the two cabinets. As these rear panels are viewable on the front face only, the back of the cabinet being against a wall, the joints I chose to joint the frame corners are haunched mortise and tenons, with a mitered tongue for the front face. I will wedge and glue these connections.
As the frames abut against carcase board rebates as well as infill strips, which happen to be dimensionally different, the miters are made unequal so as to have the line of the miters meet the junctions at the corners of the cabinet properly. This is the sort of detail nobody will likely notice, but it’s the sort of thing that, when I see it overlooked in casework or finish carpentry I happen upon, disappoints slightly.
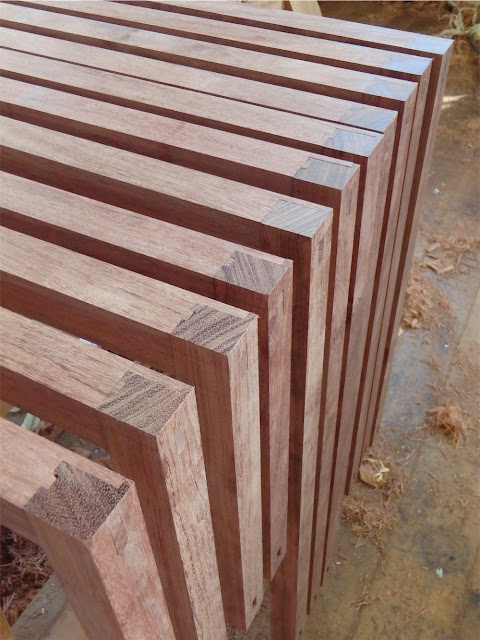
Here are the parts after the rails have been tenoned and rough-mitered, and the stiles have been mortised:
A closer look at the stiles:
I then moved to cutting the miter housings on one end of each of the stiles, after which I could start fitting the joints up:
These 4 stiles were cut at exact length to fit the opening, because I simply had no extra stock to draw from. The rail’s surface sits a hair proud, however when finish-planed that will be cleaned up - same goes for the outer faces of the stiles.
A closer view:
On the other sets, I was able to leave the stiles long, with little ‘horns’, though these might be a bit on the meager side length-wise:
Normally you leave the horns on so as to allow for tight mortise and tenon fits without risking the end of the stile splitting open, and I think in some woods longer horns are all the better. These shorter horns sufficed for the bubinga - they had to.
A view of the tenon exit faces- I’ll be flaring the mortises to wedge them, so the vertical tolerance could be a little loose:
This is about half of the joints fitted, and horns trimmed down:
I’m not sure why, but I neglected to take any pictures of the miters, however those pics will be coming along in the next post.
Another view:
The next session in the shop, tomorrow, should see me through the rest of the miter joints, and then onto the dadoes for the panels and mortises for the panel battens.
All for this round - thanks for visiting!
via Tumblr http://davidpires578.tumblr.com/post/152363151709


No comments:
Post a Comment