Post 24 in a continuing series….
————
The past couple of days have been interrupted by two visits to Orange, MA, where a Craigslist ad had lead me to a 100-year old woodworking shop which has sat largely unused for the past 45 years. Kind of a time capsule if you can envision it, a rural shop on 70 acres. The shop used to specialize in making forms for casting aqua-ducts and the like, and they had some 20/4 Central American pattern grade mahogany slabs for sale which had been sitting in the shop for around 50 years.
I don’t really have the money to buy any more wood right now, but pattern grade mahogany at a very reasonable price…well, I really had to go and at least take a look. I ended up purchasing one slab, a magnificent piece of dark and very heavy mahogany. The slab measures in at 4" thick, 15" wide, and 150" long. I tucked it away in my wood pile for, uh, future reference.
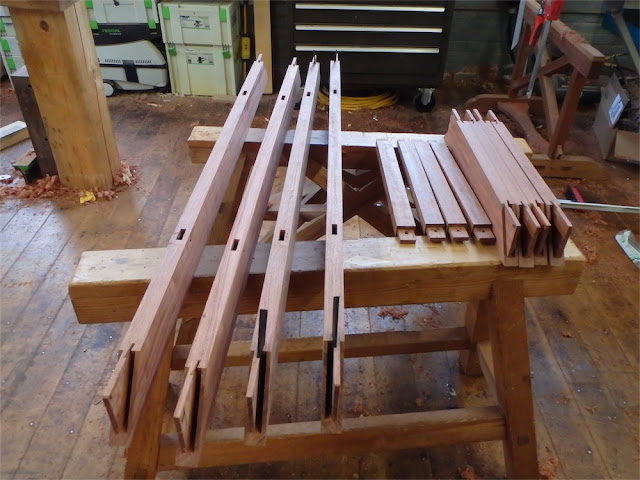
Back at the shop I was faced with a familiar scene of cornice frame parts needing further attention:
A closer look to the right - the peg mortises have been completed on the intermediate cross pieces:
The two frame assemblies were then put together for some further layout:
A closer look:
After the lines were in place, I then shifted gears as light was dwindling and the shop was too damn cold, so I started in on the milling work on the red bronze leveler feet castings. That allowed me to at least stand next to a portable heater at the mill as I worked, so things looked more upbeat.
I’ve never milled red bronze before, but it is supposed to machine fairly well. No clear idea as to correct feed speeds, cutter geometries, or anything like that - more research needed. I thought I’d have a look-see and find out where a little trial and error might lead.
I recently acquired some new magnetic vice jaws and matching parallels so I could clamp these pieces higher up in the vise jaws - these work great - and then started making chips soon after:
Most of the way around the block by this point:
The dimensional target for this end of the leveler foot - the part which inserts inside the leg - is a cube that is 1.00" on each side. I managed to get decently close:
Length:
I screwed up the first piece I attempted, but the second one came out acceptably:
It’s good that I have 12 parts to work with, only needing 8 when all is said and done.
Since each casting is irregular, I can’t just set up references with the vice position or DRO settings, and have to work my way through each block, face by face, taking careful measurements as I go, trying to keep the ‘cube’ portion reasonably centered. This means that each block is going to take about half an hour just to machine the insertion end (the 'cube’). It’s going take a while to complete these parts, then they have to be fitted to the legs, and then more machining to come after that. At least I don’t have to pay my local machine shop for all that time!
All for today - thanks for visiting the Carpentry Way.
via Tumblr http://davidpires578.tumblr.com/post/137061493629


No comments:
Post a Comment