Today I started out with some fitting work on the strips which serve as backing for the rear demountable panels.
Small stopped rebates were taken from the rails to accommodate the ends of the strips:

The ends of the strips are rebated in two directions:

The rebating means that when the interior arris of the strips are chamfered, there will be no gap at the joint.
First the strip for the top of the carcase, which is mitered on both ends, was fitted, and then the runs on the carcase sides could be slotted in:

At the base of the rail:

The ink denotes the arris to be chamfered. The strips are housed in 1/8" (3.17mm) and are proud of the surface by ¼" (6.35mm). I will glue them in later on.
At the lower end of the strip, you can see how the rail connects to the carcase and strip end:

After the strip was down, the lower rail with stopped rebate was slid into place:

Almost there:

Down:

Tried as I might I was not able to get a clear picture of the junction, despite three attempts. Oh well.
The task was completed similarly on both sides, and then on the other cabinet parts as well. That took care of half the day.
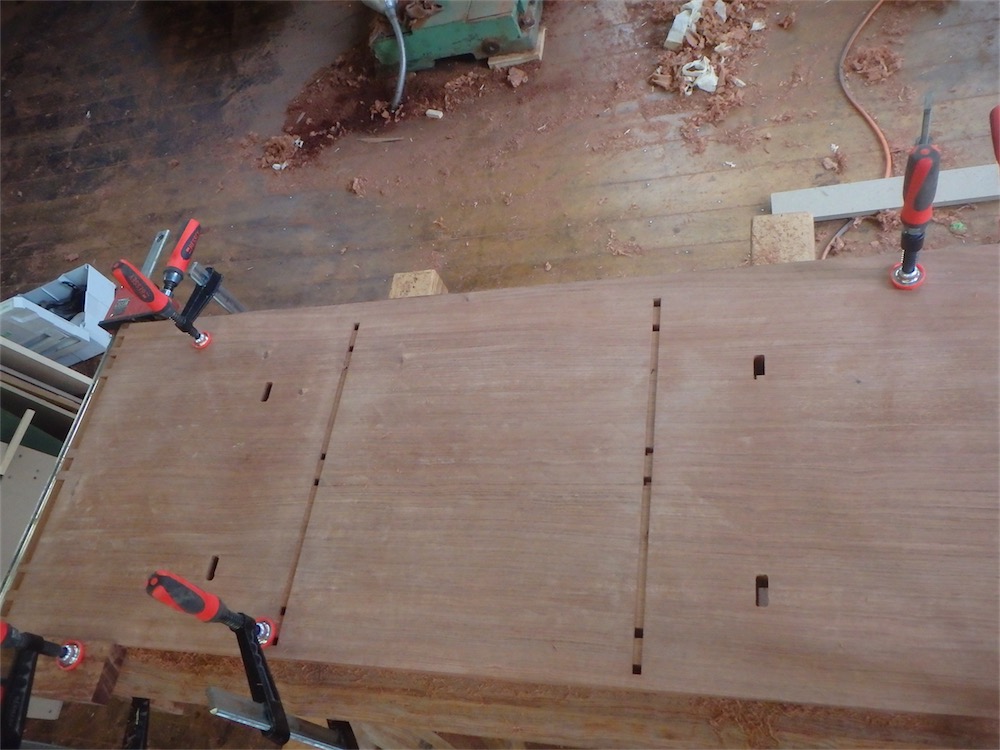
Then it was on to fitting the lower carcase board to the stand. Here, I’ve carefully positioned the carcase board and clamped it in place atop the cornice of the stand:

I used a digital caliper to set the spacing very precisely and was please to find that after the front edge was at the correct offset, the rear edge offset was only about 0.003" from target dimension. After so many layers of interconnected parts were stacked, it was nice to be on track still.
The entire assembly was flipped over and then some drilling was undertaken:

Flipped back over again, the results of the drilling are clear to see:

Then I used a bottom bearing spiral carbide to clean out the rest of the mortises to the same dimensions as the mortises in the frame members below:

Here’s a view from a bit further back after all four were cleaned out:
Then onto a little layout. The front mortises are to be the same length as the mortises in the frame below:

The rear mortises, however, will be elongated relative to the mortises below, to allow the carcase to move:

Working next on cutting a housing at half depth:

This is a completed front housed mortise:

Hammer-headed drawbars will be fitted later on. I save the work to make most of the pins and keys for the end.
A while later, all four are done:

Another view:

I will work on the other cabinet’s lower carcase board in the same manner tomorrow, and then on to the shelf panels. Getting close now to completing the cut out on the carcase.
That’s it for this round - thanks for your visit to the Carpentry Way. Comments most welcome.
via Tumblr http://davidpires578.tumblr.com/post/142039171479
No comments:
Post a Comment