When I left off last post, I had managed to assemble the sliding door frames and fit the lattice panels. Subsequently, I have fitted the shedua back panels to the same doors:

Another view:

I like the combo of shedua and bubinga.
Both cabinets were advanced to the same point. These sliding door units are simply dry-assembled for the time being. I plan to apply finish to the door frames, but not to the lattice, which I will simply wax. Wax is hardly a tough finish, but the lattice sees next to no wear so it is reasonable I think.
I set that finishing work aside however, and proceeded with work on the drawers. The drawer fronts are shedua, and will have a portion of the face relieved back. I did some rough cutting in that regard on the mill. The fronts are currently about 0.06" oversize, but shedua is so prone to tear out, even with the mill used for cutting (which I used, as shown earlier, to take the fronts down from 1.125 to 0.95" thickness) that I will take the fronts to a local place to get that last bit taken down on a wide belt sander. That’s scheduled for tomorrow. I’ll also be taking the curly bubinga main door panels down to have them slimmed a bit as well.
Drawer fronts set aside for the moment, I turned my attention to the drawer runners. Readers who checked out the ‘Square Deal’ series of posts may recall some of the details concerning a nearly glue-less version of an NK drawer that I did for the side table. I was initially planning to construct these drawers, 18 in total, with the same design execution, which employed through tenons from the drawer sides - tenons which of course are visible on the drawer fronts.
After further rumination, I decided that it might look a bit too busy with all the drawers having exposed through tenons, so I revised the design slightly, changing to blind tenons. This has had some positive effects in other areas, however it does mean I’ll be using a bit more glue than otherwise. That’s a drawback, however on the flip side, by using blind tenons and hide glue, the construction will be much more readily taken apart if repairs become necessary years down the line.
I’m getting perilously low on bubinga. I have a little figured material left, but the straight grained stock has been completely used up. The last of it managed to yield enough for the drawer runners, but only barely. A total of 36 runners are required, two per drawer, and that was exactly what I managed to squeeze out from stock, with not one single spare piece. That put a bit of pressure on as far as cut out work on the runners, as I could not afford to make any mistakes.
Here are the 36 runners, after having been jointed, re-sawn, re-jointed, planed, trimmed to length, finish planed to dimension, and kerfed, a process taking a couple of days:
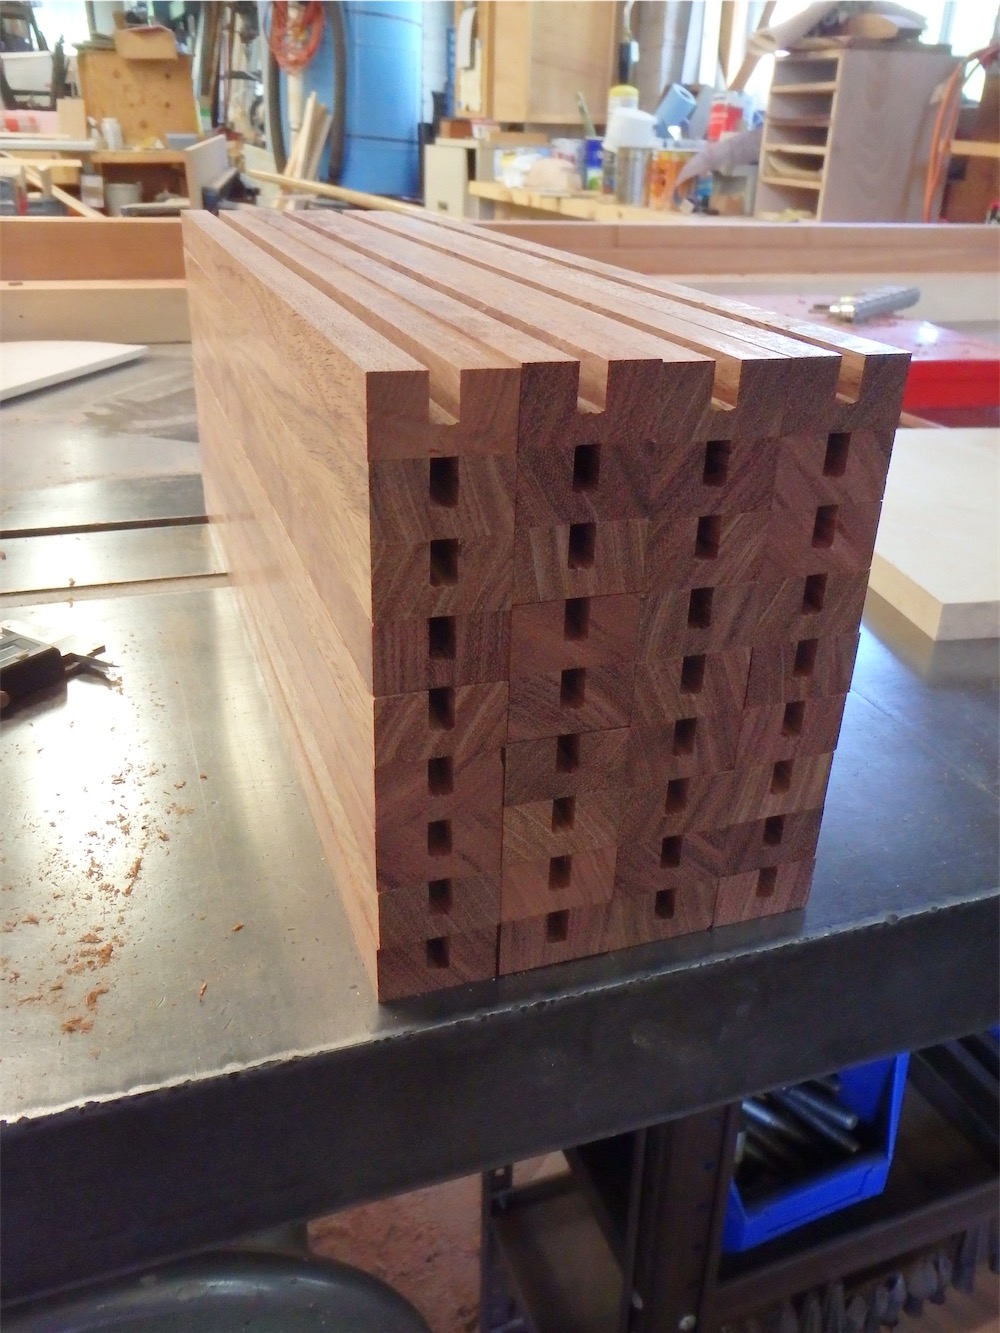
That was how the pile sat after mid-morning. By the end of the day they were done, and a big sigh of relief at the end as all the cut out steps went without a hitch. Here’s the pile now:
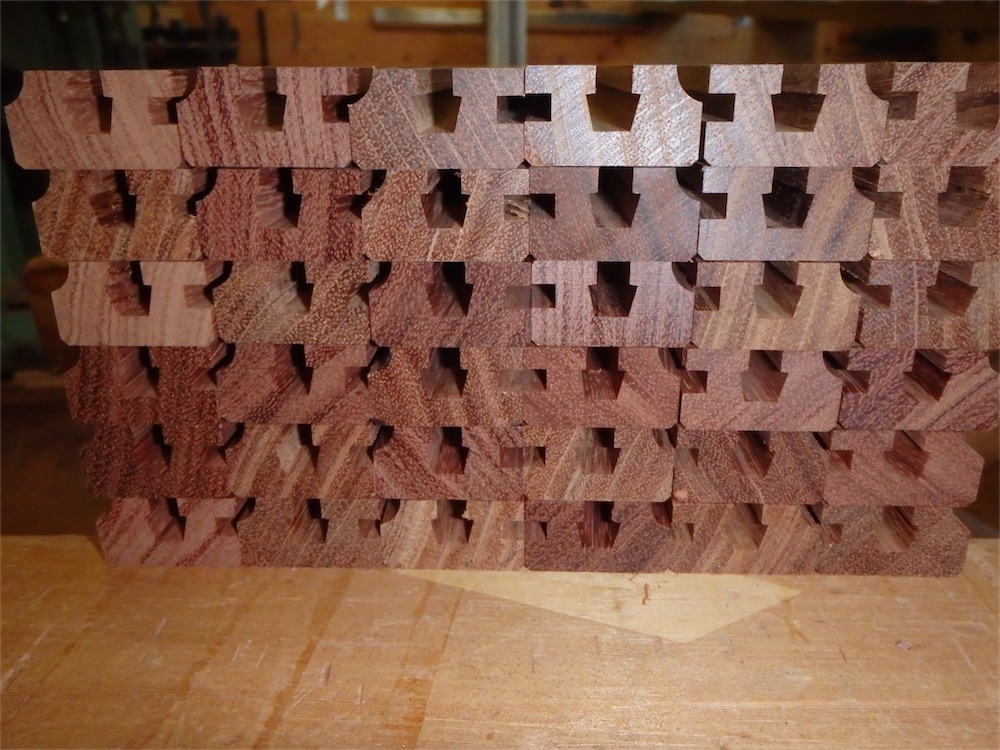
These have been trenched for sliding hammer head tenons, grooved for the floor panels, chamfered, and a hollow molding pass also taken. The above shows the back ends of the runners; the ends which connects to the drawer fronts have had twin tenons formed on them, and somehow I accidentally deleted that picture from my camera when uploading to my computer. I’ll show the tenoned ends next time.
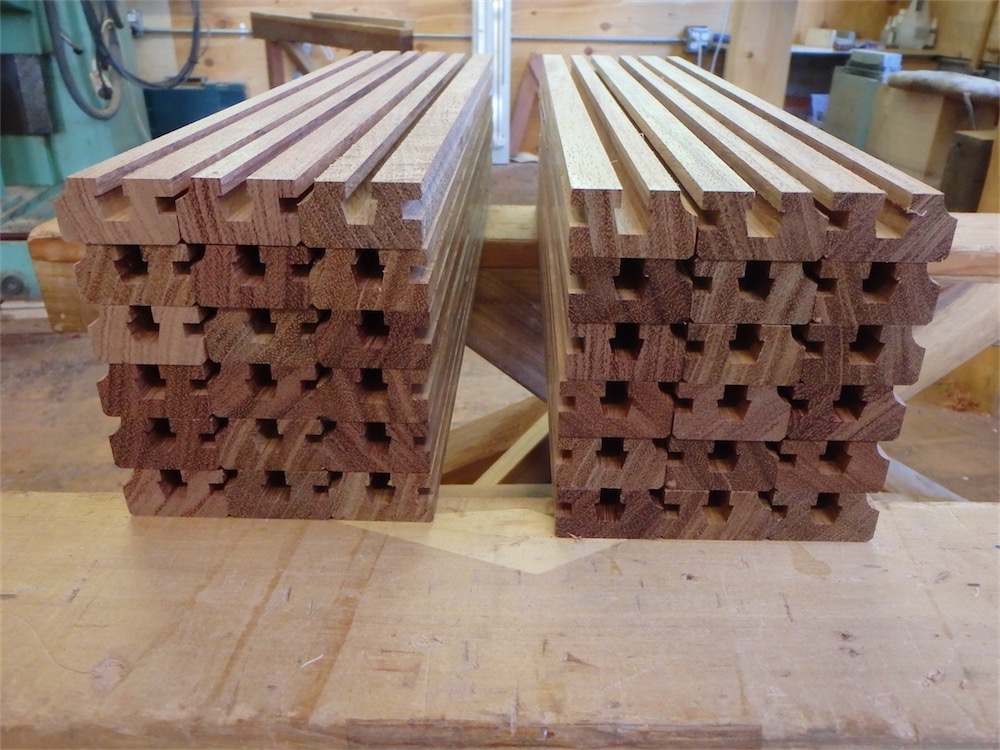
Another view:
I will need to obtain some more bubinga soon for the drawer sides and backs, and that hunt is currently underway. Happy to accept donations by the way….
I also took the opportunity this afternoon to bring the VG back panels down to a hair over target dimension:

It’s not everyday one has the opportunity to plane quartersawn material in this sort of width. These panels had been roughed out a couple of months back, and after sitting for the interim have remained totally flat. Nice not to have any untoward surprises in that regard.
After planing, the panels were left to rest:

I expect they will stay flat.
Another view - only the left hand panel is a glue up, the remainder of panels are one-piece:

The glued-up panel will not be visible in the completed cabinet, as it sits behind the bank of drawers. And a single glue up is not the end of the world, now is it? I didn’t even remember/notice that it was a glue up until looking at these very pictures.
Thanks for dropping by on your travels today. Comments always welcome.
via Tumblr http://davidpires578.tumblr.com/post/146033034019
No comments:
Post a Comment