As one door closes, another opens, as they say:

After the battens are removed, the tenons can be kerfed for their wedges:

Result:

The teeth on that particular rip saw have virtually no set, and I find it tends to be difficult to keep sawing in a straight line, however the kerf is nice and slim.
Then the battens get a coat of wax, and later are to be rubbed with #0000 steel wool along with the panel. No point taking more pictures of door construction as that was covered in the preceding post.
Time ticked on, at a pace of completing roughly a door a day, and at last the 4 doors on the client’s cabinet were all together:

The ‘L’-shaped stiles show their purpose to good effect, I think, once the doors are next to one another, as it allows for a maximal view of the panels with the least interruption.
The panels and their frames came out straight and flat:
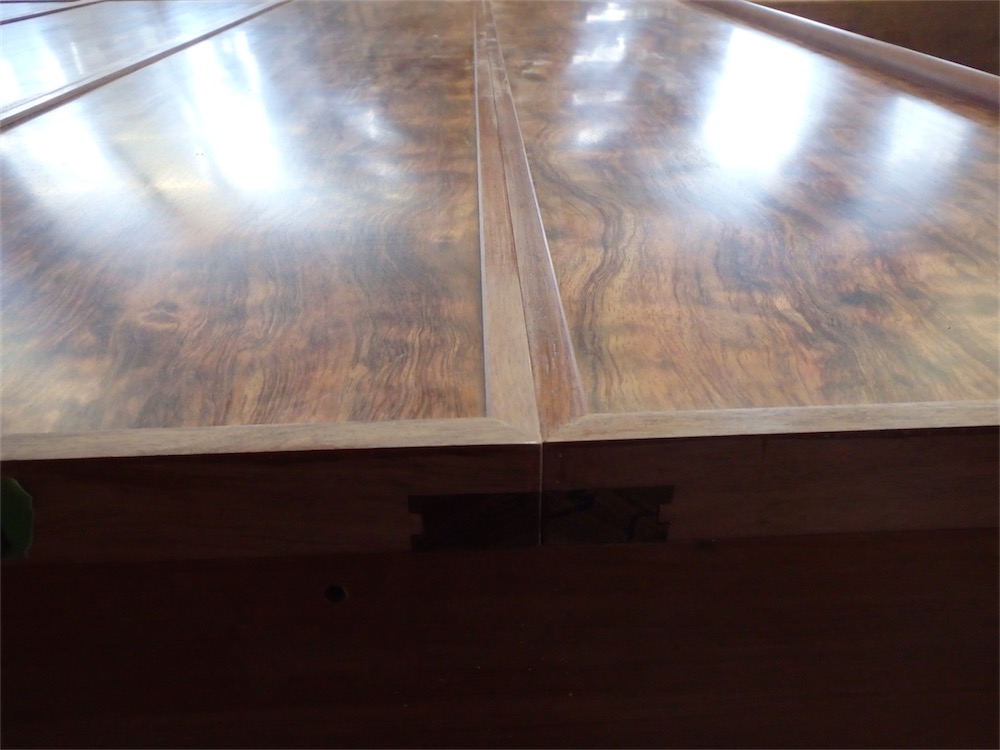
Another view:

I was a little nervous imagining worst case outcomes, but the panels fit to the carcase as they should, and there’s only a little work to do yet in regards to getting the spacing between panels just right.
Another view:

The doors were then completed and in place on the other cabinet:

The second from the left door was rotated upside down at the point I took the photo, and has since been flipped around. Looks a bit better that way!
The next step, before doing any further work to the door frames (they still need some finish applied), is to locate the hinge pin centers on the upper bonnet sill (or cornice) and then the same to the support stand sill. These two sills have to be dealt with one at a time for this step.
It was nice to fit the bonnet back on, after months of it sitting off the cabinet, and once it had dropped onto the dovetail keys and slid into position, I used a rubber mallet to bring it precisely into the correct offset from the front edge of the carcase:


With the offset as it should be, I fastened the securing bolts down:

I clamped some sticks to the side of the carcase to serve as guides to keep the edges of the doors in line with the outside walls of the cabinet:

Then the doors were placed on a couple of paper shims so as to create, for marking purposes, an expansion gap for the stile between the stile and the cabinet carcase:

To transfer centerline marks for the threaded inserts already fitted to the hinge stiles, I had a local machine shop turn a point on a 5/16" bolt a few week’s back, and this was then threaded into the insert:

Then it was simply a matter of sliding the door forward until the point left its mark on the underside of the sill:

Once both sets of outer doors had been marked to the upper cornice, before removing the upper sill assemblies I took a look at the task of drilling to those marks so as to fit the bronze bushings, however I then realized I lacked a 5/8" brad point bit. That’s something I’ll pick up tomorrow, along with a 7/8" Forstner as mine has been resharpened once or twice and is no longer dimensionally accurate.
It seems to me if the diameter of a Forstner is critical to the task at hand, then you can’t use a resharpened one. You have to use a new bit. They’re disposable tooling in that sense. The head of the Forstner is tapered so any machining done to refresh the cutting edge will move the edge down that taper and thus the diameter will decrease by a slight amount. Of course, for non-critical hole diameters, a resharpened Forstner is just fine, thank you very much. It’s the very same issue as with router bits.
All for this round. I’m glad to be largely done with the doors, as it was the last significant piece of construction on these cabinets. Once I get the hinged stile doors fitted to the sills, I will make any required final adjustments to the frames of the middle panels and then can look at fitting the hinges between the panels so as to make them bifold doors. That will be happening in the near future.
Thanks for dropping by the Carpentry Way.
via Tumblr https://davidpires578.tumblr.com/post/159279473414
No comments:
Post a Comment