First task with the Yellow Cedar was to check the moisture content with a pin meter. This came out at 8~9%, which was fine. Next, some preliminary resawing work to see what was what:

It’s yellow, and cuts like another yellow substance, namely butter. Quite a change from bubinga and shedua. The board in the picture above did move a little bit from the rip cut, but the other boards hardly moved at all. A good sign.
With quartersawn wood, you can generally expect stress relief to occur to some extent, and this is almost always in the lateral direction, the sawn halves moving aways from, or toward, one another. The board above was partly rift sawn, so the board’s movement was slightly lateral outward and slightly upward.
By resawing down the middle, I adopt a ‘divide and conquer’ approach, splitting any residual growth tensions evenly between halves. If the board had more stress in it, and one ripped just a thin slice off of one side - particularly if on the bark side of the board - then one opens to the door to the potential for the ripped board to warp too much.
Each of the two halves, after sitting a day or two, will be divided in half once again to produce the ceiling frame scantlings.
I also did a bit of cross-cutting and end-trimming, and very little stress manifested in the boards during the cutting - I was pleased. Here’s a slice off the end grain of one of the boards, with the 'super macro’ setting on the camera, showing the incredibly tight growth rings:

The above section of wood measures about 2" tall by 2.25" wide. With the naked eye, it is a bit hard to count the rings.
For the panels, the VG Western Red Cedar boards were bought as 1"x10"s a couple of weeks back, in various lengths up to 20’. These were then cut into 3’ lengths, jointed, planed, surfaced, edge jointed, and edge glued. This produced more than 20 glue ups. Next step was to joint each assembly:
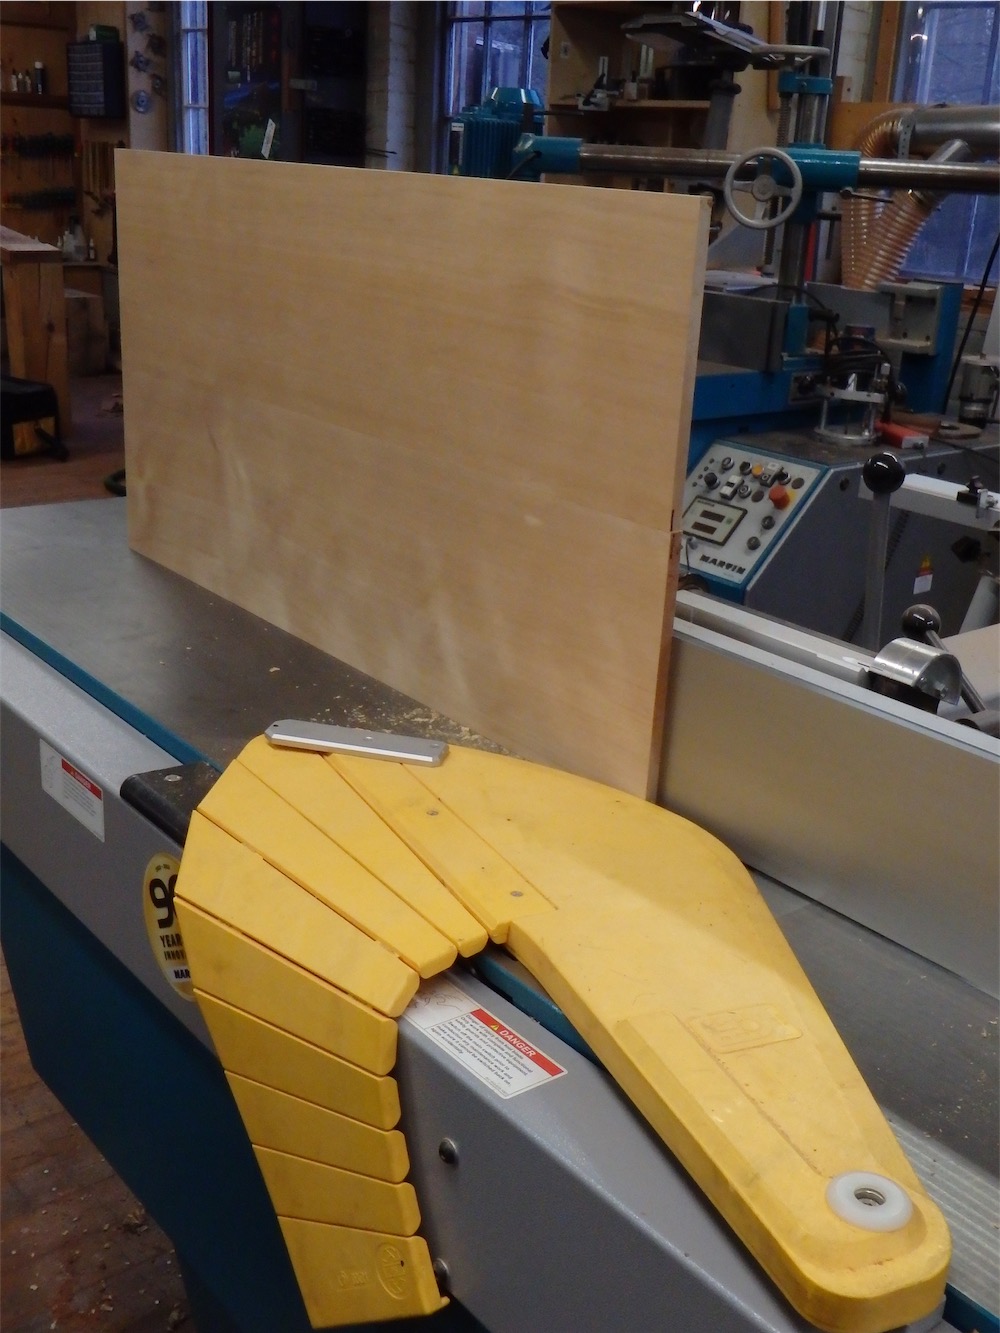
That was followed by ripping to width in two passes so as to leave the glue line centered, and then the panels were cross cut on the sliding table saw to produce the 44 ceiling panels required. At this stage, they are left a hair over dimension:

There are slight differences in panel sizing depending upon the location of the panel in the frame work, so I prepared the panels to the largest required dimension, and will trim down panels which can be a little smaller later on.
A few days later, all the ceiling rods were sliced out and dimensioned, a little oversize at this stage:

I’ll let that stock sit for a day or two before bringing it down further.
While doing the milling, I also happened to notice an issue with the ceiling perimeter frame members, mawari-buchi, which I pulled from the tea room wall. They are all different lengths. So , it looks like the room itself has one square corner at best. I’ll need to return to site to check this out further before I fit the ceiling framework to the perimeter frame in the shop.
I also got to work on a frame of a single sliding window, one of a pair. There was one missing from the mizuya room, so I patterned the new one directly off of the existing piece.
Here I’m taking some finish passes on kumiko:

The frame members were dimensioned, finish planed, end trimmed, mortised and tenoned:

The outer frame is done:

Just need to complete the lapping joints for the kumiko and mortise the frame. I’ve also ordered some spring clips from Japan for the new frame. The new ones look like this:

All for this round. Thanks for dropping by the Carpentry Way. Should have TAJCD Monograph 2 out later this week all being well.
via Tumblr http://davidpires578.tumblr.com/post/154160993389
No comments:
Post a Comment